How To Correctly Apply Acrylic Nails
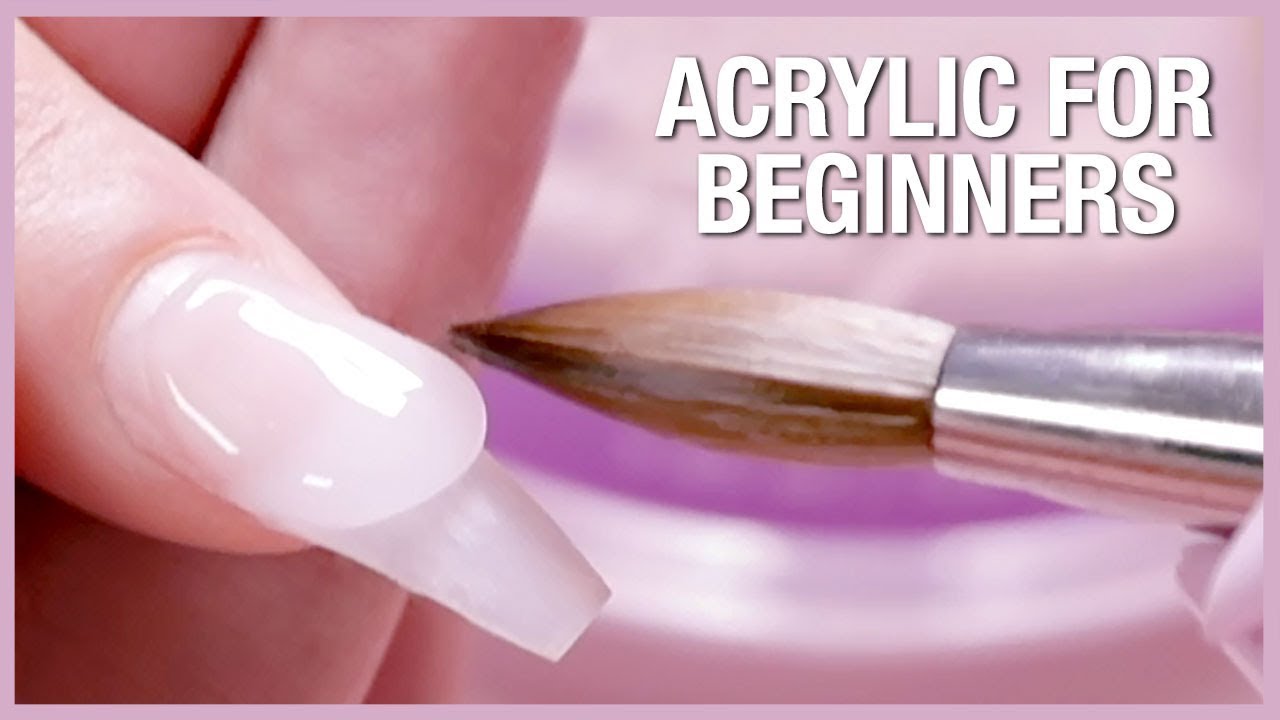
Acrylic Nail Tutorial How To Apply Acrylic For Beginners Youtube
Doing My Own Acrylic Nails First Time Youtube

How To Do Acrylic Nails Nails Step By Step Acrylic Nails Tutorial Youtube
How To Apply Nail Tips With Acrylic Overlay Step By Step Tutorial Youtube
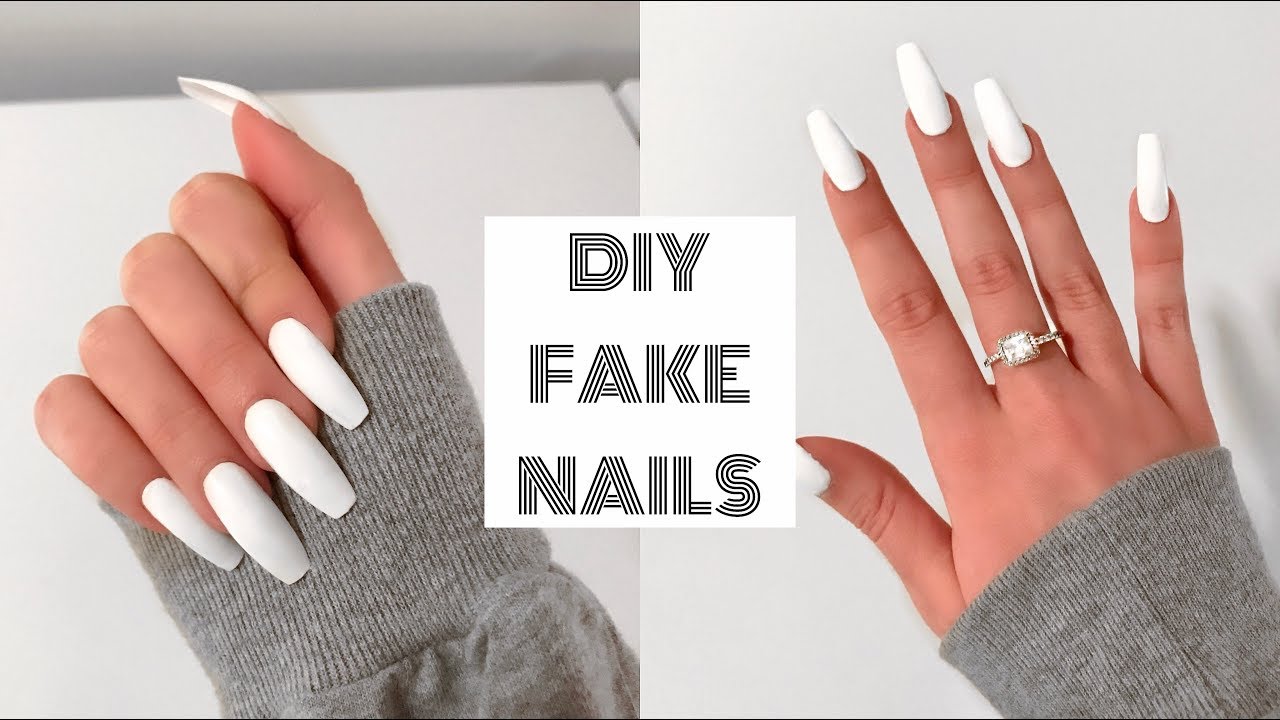
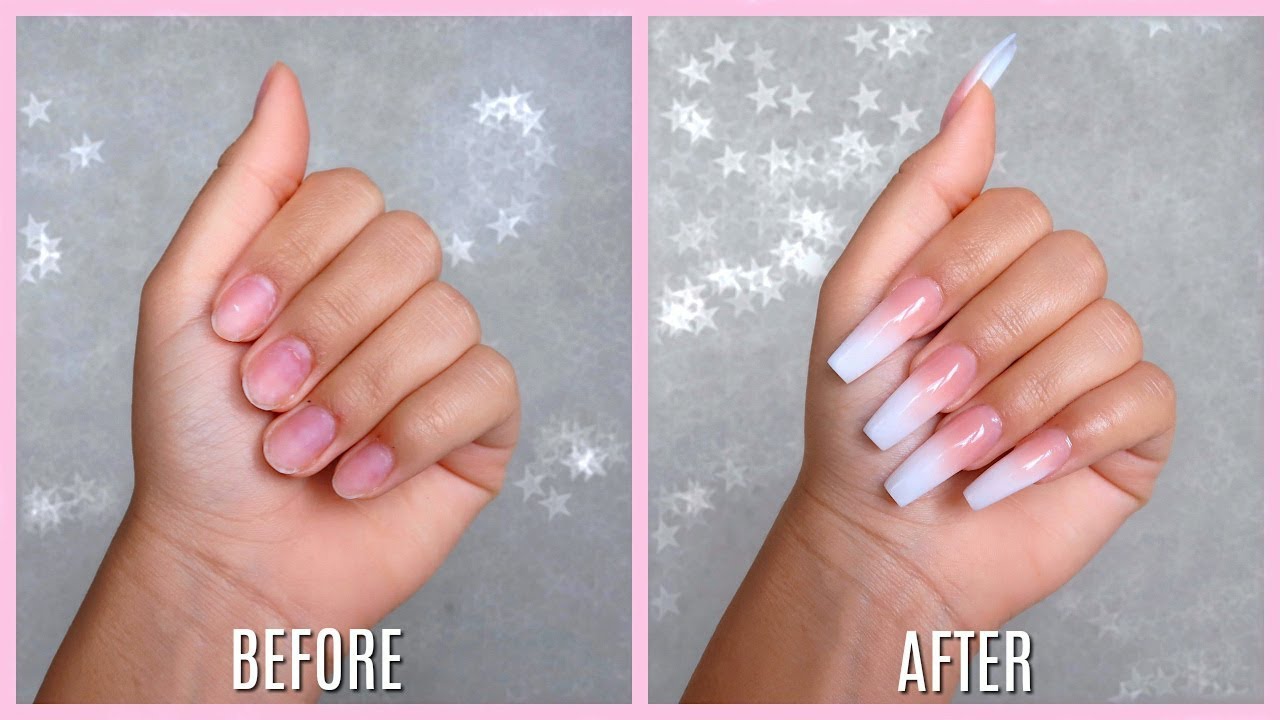
How To Do Fake Nails At Home For Beginners Acrylic Nails Under 30 Youtube
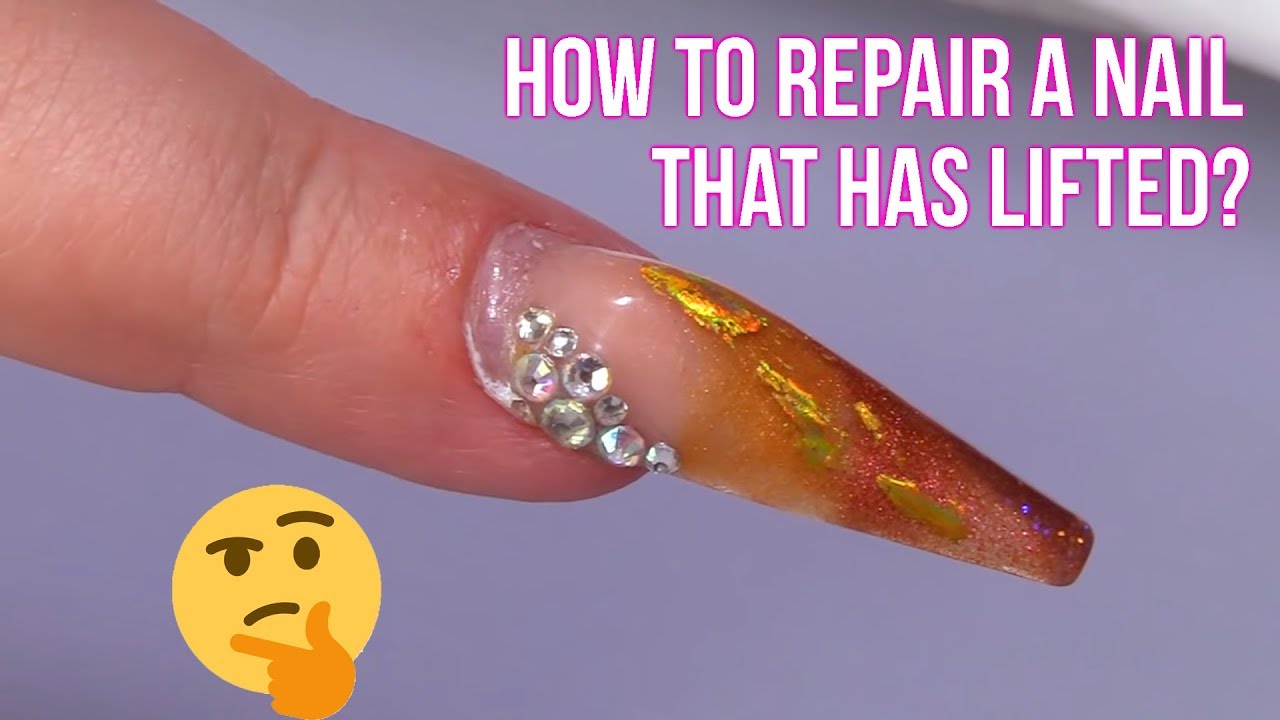
How To Repair A Nail That Has Lifted Youtube Diy Acrylic Nails Acrylic Nail Primer Nails
Clean dry and trim fingernails are strict pre-requisites in any acrylic nail application.
How to correctly apply acrylic nails. Some people get their fingernails done professionally every few months but other people want to do. Part 1 - cuticle down to start of adhered tip Part 2 - from adhered tip to half way down the tip Part 3 - the remainder of the tip to the free edge of the tip. The more often you have your nails done the longer they will stay healthy and strong.
Wash and dry your nails thoroughly. Do not drage the brush over the acrylic or pull the acrylic downwards. Base coats top coats and acetone-free polish remover are all vital to painting over acrylics safely.
Beginners often do not know how to properly prepare their station nails mix and apply the product. These nails become hard when exposed to air. Apply a thin coat of polyurethane with a cotton ball on each nail.
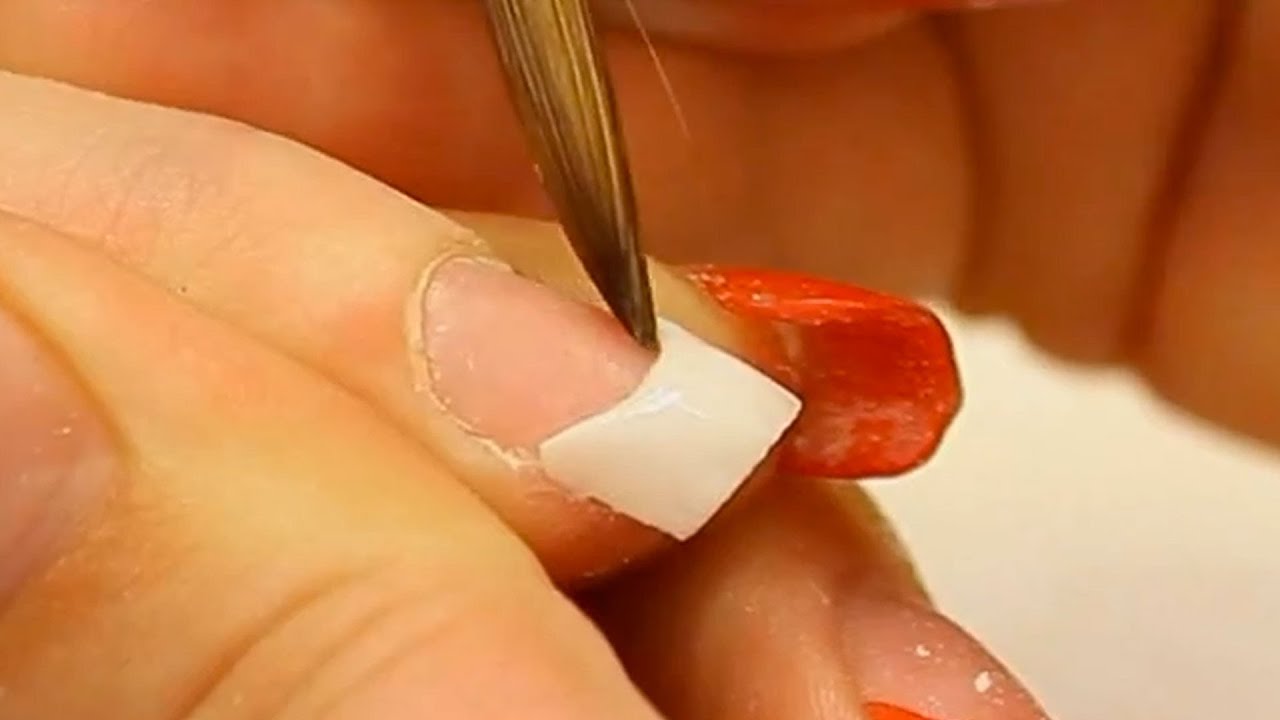
Brush the acrylic ball down to the tip after flattening it over the line. Please read before commentingEVERYTHING in this video was purchased from Sallys Beauty Supply Store Linked below with the exception of the brush Im using. Plus the acrylic nail will stick to your natural nail better and stay on for longer when you have prepped your nails correctly.
Beginners are amazed when they learn to do Acrylic nails properly. The key to repainting is to follow the steps properly and to the letter. Apply your first bead to Part 1 gently press it down with your brush and ease it towards your cuticles.
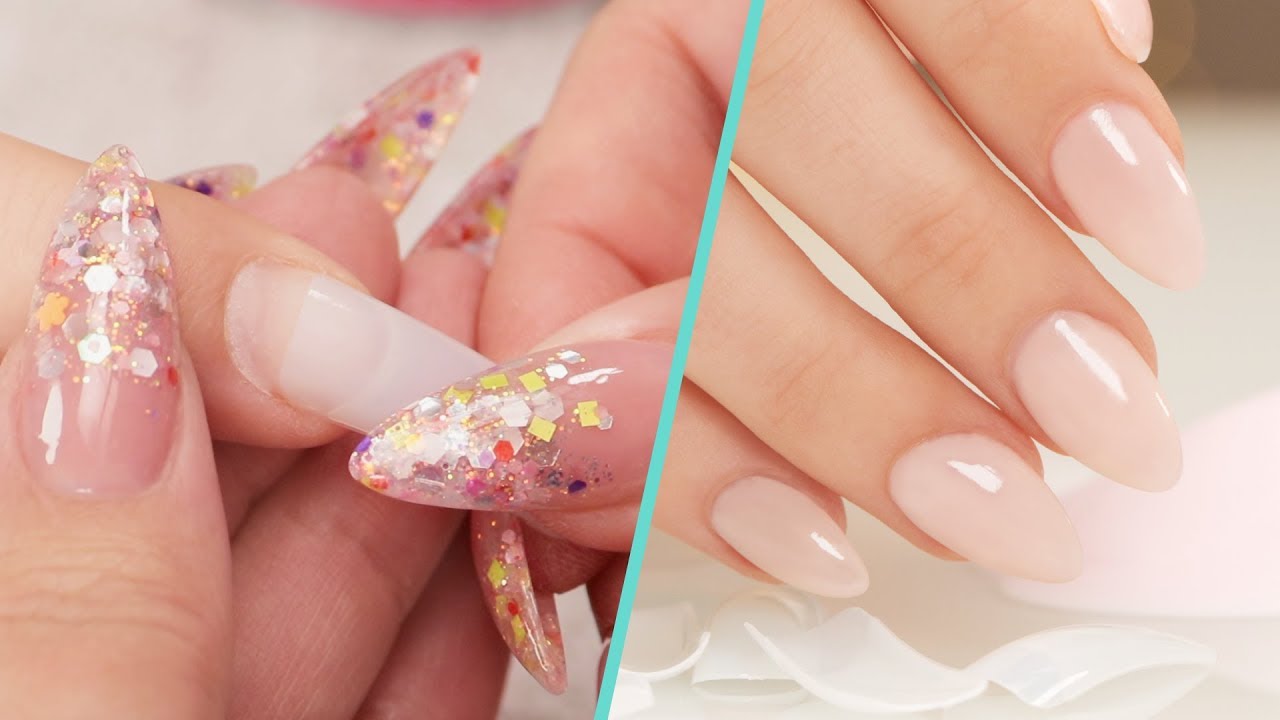
After that the nails extensions are shaped buffed for a shiny finish. The easiest way you can grow your nails. After preparing your nails and possibly placing your tips you are now ready to begin your nail masterpiece.
Correct Acrylic Application Zone 1 Free Edge And Smile Line Tutorial Video By Naio Nails Youtube Diy Acrylic Nails French Tip Acrylic Nails Lines On Nails

How To Do Acrylic Nails 15 Steps With Pictures Wikihow

Pinching Acrylic Nails Step By Step Tutorial Youtube Diy Acrylic Nails Acrylic Nails At Home Diy Nail Designs


