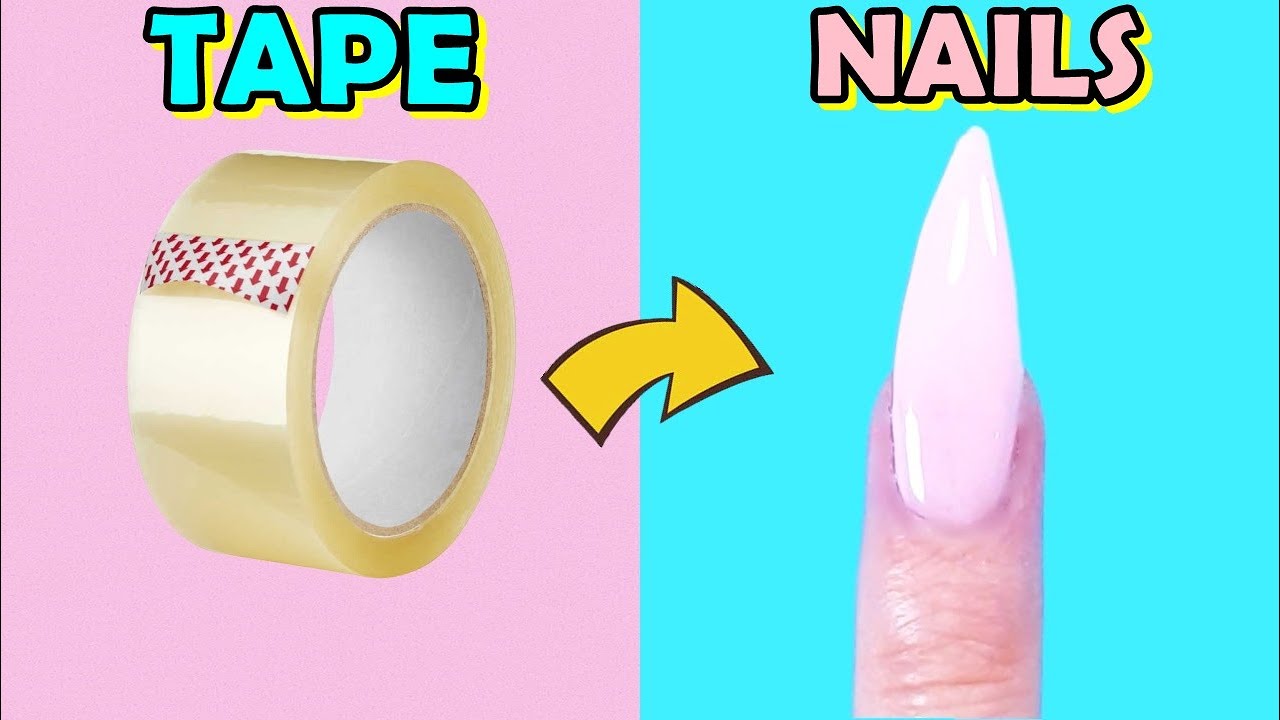
How To Make Acrylic Nails With Tape

Diy Amazing Fake Nail Tuotorial Things What U Need 1 Masking Tape Or Paper Tape 2 Selotape 3 White Glue Fake Nails Diy Diy Acrylic Nails Diy Nail Glue
How To Make Fake Nails From Tape In 5 Minutes And Remove Easy And Quick Nail Hack Youtube Quick Nail Nail Hacks Diy Diy Acrylic Nails

U2764ufe0f Beautiful Diy Fake Nails With Plastic Bottle Easy Nails Millie Magazine Fake Nails Fake Nails Diy Fake Acrylic Nails
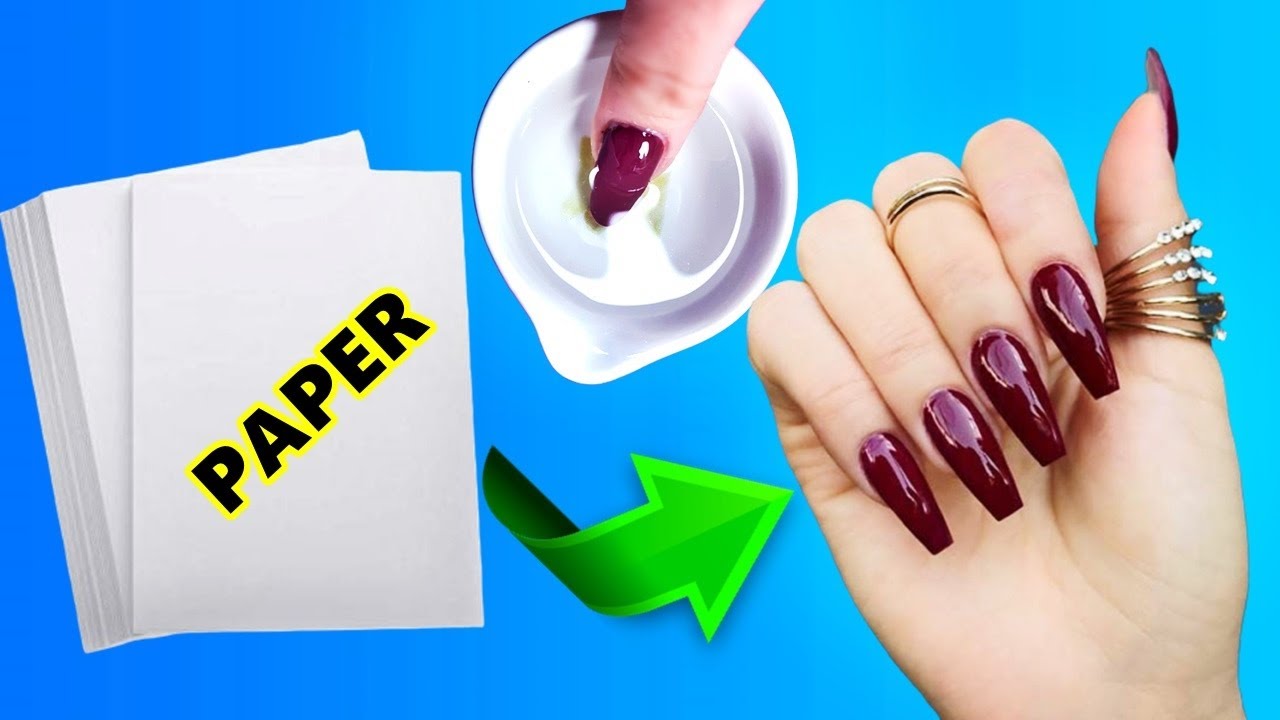
How To Make Waterproof Fake Nails From Paper In 5 Minutes Nail Hack You Will Not Believe Youtube Fake Nails Fake Nails Diy Diy Acrylic Nails

Try These Easy Nail Designs Naildesignsjournal Com Nail Designs Easy Diy Diy Nail Designs Simple Nail Designs

3 More Easy Striping Tape Nail Art Designs Nail Art For Beginners Ar Tape Nail Art Nail Art Stripes Simple Nail Designs
Starting with the first step.
How to make acrylic nails with tape. The tape should cover the entire fingernails and extend past it making the whole nail look glossy. Trim the tape down as needed to fit your nail. Apply the mixture into your nail and slowly apply it until you cover the whole nail.
Ad Tapes Online has an extensive range of adhesive tapes to suit any job. Then look deeply at the size of your fingernail and have another cut out of the tape so that it fully covers the top part of your fingernail. It is best for dress-up.
Continue to do this procedure with all the nails. Press down the sides of the tape curving them to the bend of your nail. Acrylic nails are exceptionally strong and with the right care will last 2-3 weeks after which they will begin to naturally grow out.
Once they are mixed together and heated they will form into a new compound that has all the properties that are needed to make a good type of acrylic paint or acrylic powder. Usually bowling tape is used only for the thumb and saving it from twisting or bending when the bowler throws the bowling ball. Find this Pin and more on Style Makeup by Marisha Saha.
Then paste the tape over your finger so it covers the whole of your nail and extends past. Cut out your nails. Take an ordinary single-sided Scotch tape.
Trim the tape if it is too wide. For bigger stronger nails apply another coat. Be aware that this option is temporary.
10 Things To Do When You Re Bored What To Do When You Re Bored Diy Slime How To Make Slime Hey Everyone Fo Fake Nails Diy Fake Nails Acrylic Nails At Home
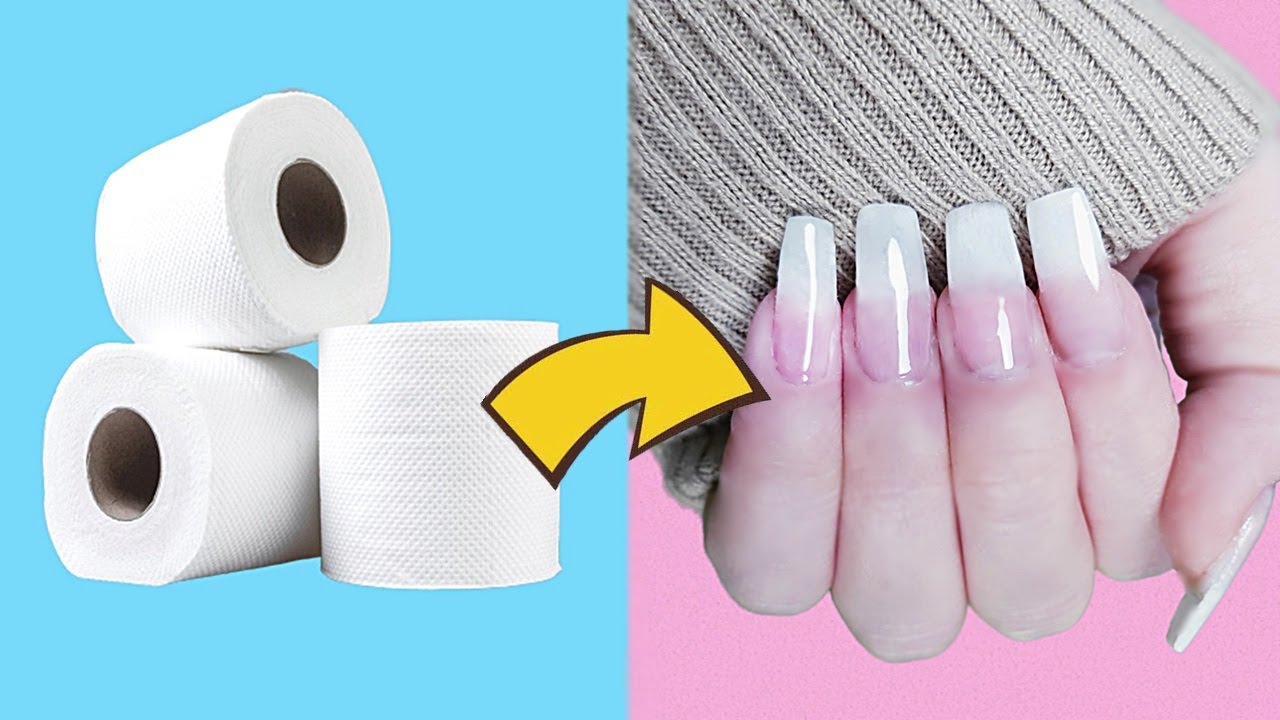
How To Make Fake Nails From Toilet Paper Like Natural Nails And Waterproof No Uv Lamb No Acrilic Youtube Diy Acrylic Nails Fake Nails For Kids Fake Nails

Dos Don Ts Striping Tape Nail Art How To Use Striping Tape Youtube Tape Nail Art Diy Nail Designs Simple Nail Art Designs


