Steps To Doing Acrylic Nails At Home

Step By Step To How To Do Your Own Acrylics French Tip Nails Disclaimer I Did Not Get This From The Diy Acrylic Nails French Tip Nails Acrylic Nails At Home

Step By Step Rossi Nail Gel Acrylic Nail Kit Hard Gel Nails Gel Nail Tutorial
10 Things To Do When You Re Bored What To Do When You Re Bored Diy Slime How To Make Slime Hey Everyone Fo Fake Nails Diy Fake Nails Acrylic Nails At Home

How To Do Gel Nails At Home I Am Joellen Diy Acrylic Nails Gel Nails At Home Gel Nails Diy

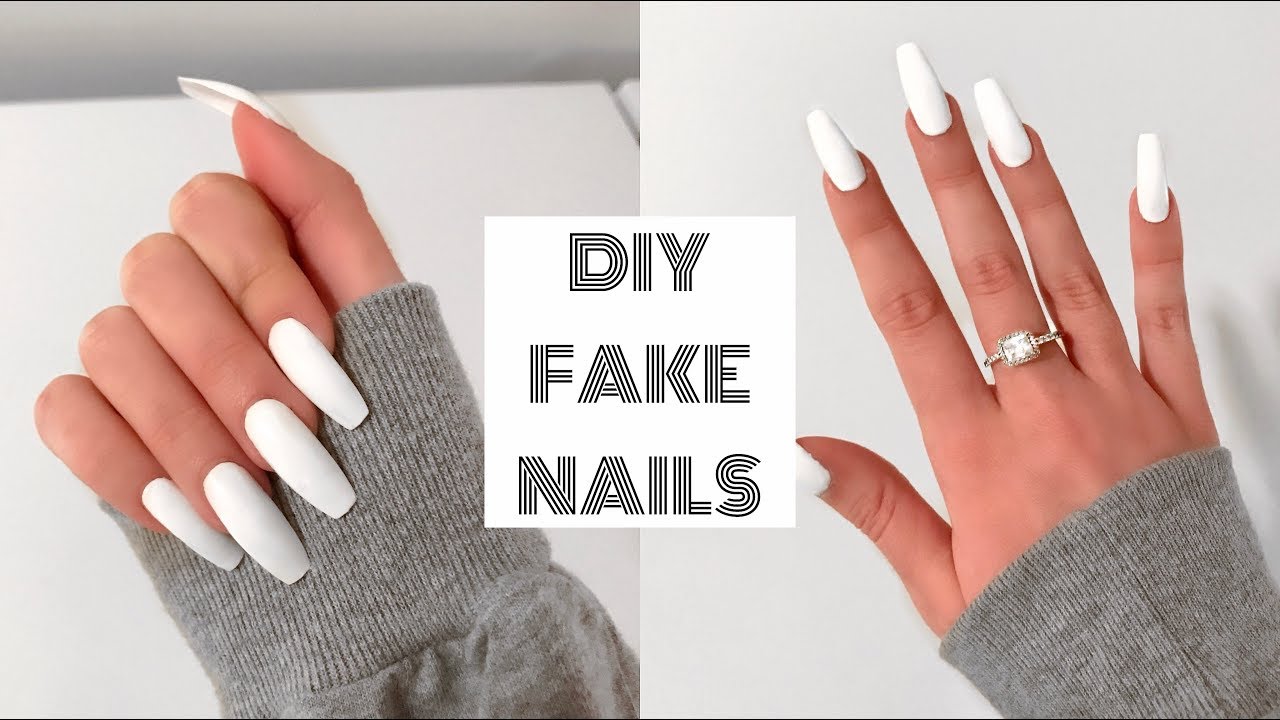
Diy Acrylic Nails Easy At Home Diy Acrylic Nails Gel Nails Diy Acrylic Nails At Home

The Perfect At Home Gel Manicure Gel Manicure Diy Gel Manicure At Home Gel Nails Diy

Begin by removing any existing nail polish or anything else on your nails.
Steps to doing acrylic nails at home. Apply the acrylic in 3 stages divide the nail into 3 parts. You obviously do not want your acrylic paints to stick to your skin. This provides the acrylic paints with a better base to stick to.
If you are doing acrylic nails for the first time you might want to start with an all-included kit. Gently push your cuticle back although not necessary but I like to and use the nail file to gently buff the shine away on your nails. Step-by-Step Instructions to DIY Acrylic Nails Step 1.
Our contributor Kenda did a fantastic tutorial on Doing Your Own Acrylic Nails at Home. Hold the tip down for 10 seconds to allow the glue to dry. Labor rank and file angry at captains pick for preselection of Joel Fitzgibbons.
Tap the finger and use your small nail brush to lightly dust the excess powder off and around the nail. Apply SNS Gel Base to ¾ of the nail plate and dip the nail into SNS Natural Set Dip Powder. Step 1 Prep your nails.
These kits have all the things that we list in our guide along with some necessary instructions. Once all the nails are in place and the acrylic has hardened shape the nails again if necessary. A step-by-step guide to safely removal acrylic nails at home Ashley LadererDebra Jaliman.
Paint your nails in the desired color. To do acrylic nails at home you should have a kit containing acrylic paints a fluid that increases the adhesion of a natural nail to an artificial nail a solvent a de-greasing fluid a brush and a few nail tips. According to SNS creators the gel base polish is packed with nutrients including vitamins A E D and B5 to help protect your nails.

Step By Step Guide For Diy Polygel Nail Manicure Diy Nails Manicure Gel Nails Diy Polygel Nails

Alexandra Nanette On Instagram Pink White Ombre Picture Tutorial Pinknails Ombre Gel Nails Diy Acrylic Nails Ombre Acrylic Nails
Diy Acrylic Nails Diy Tutorials Diy Acrylic Nails Acrylic Nails At Home Matte Nails Design


